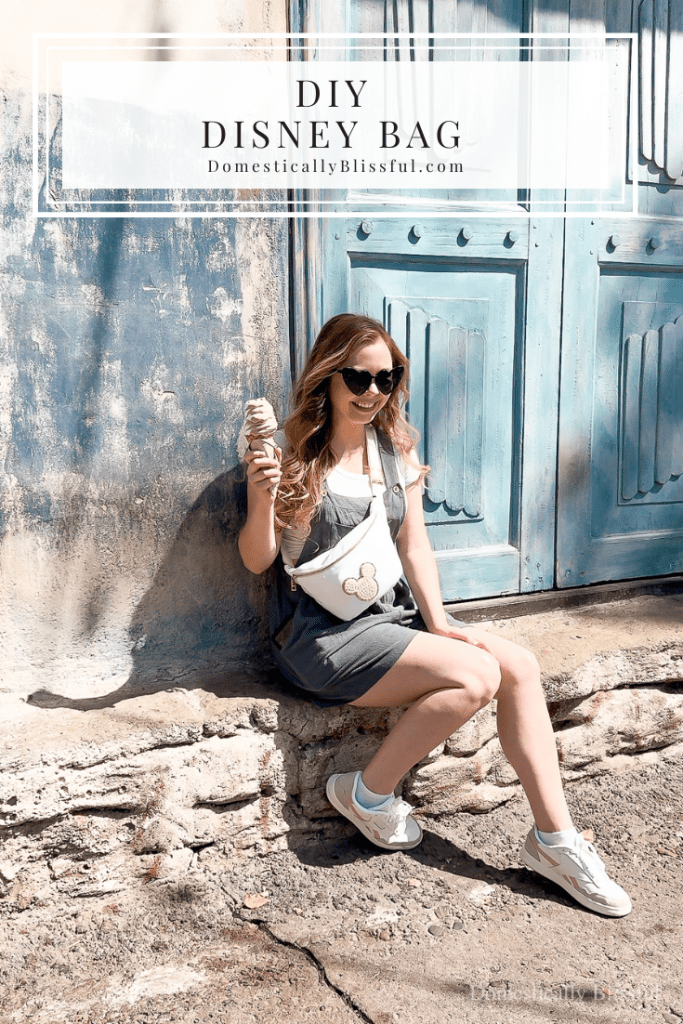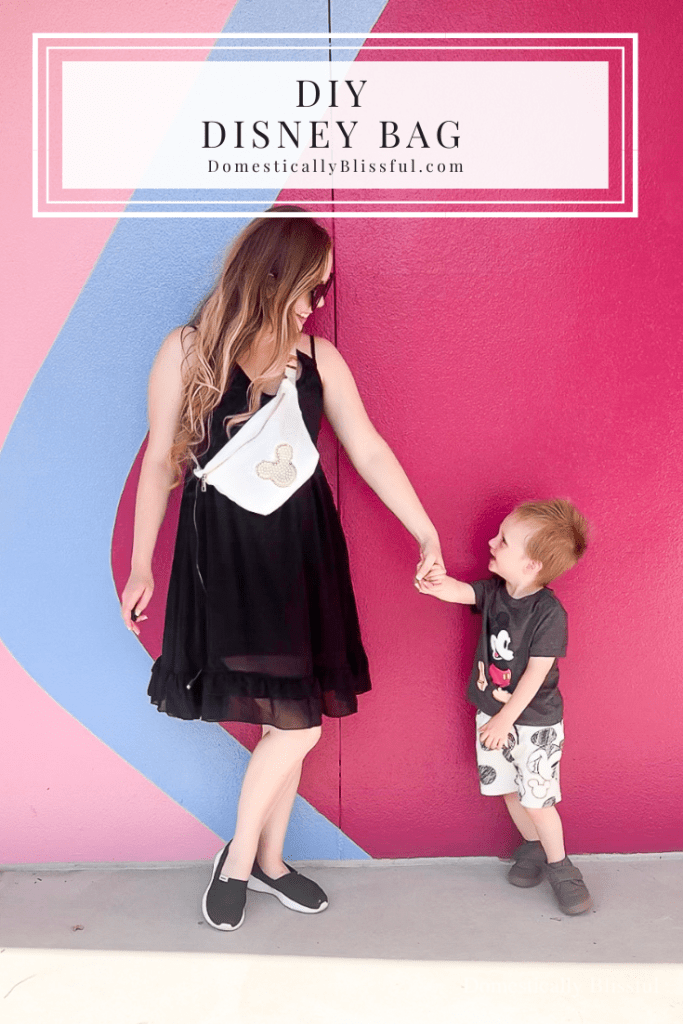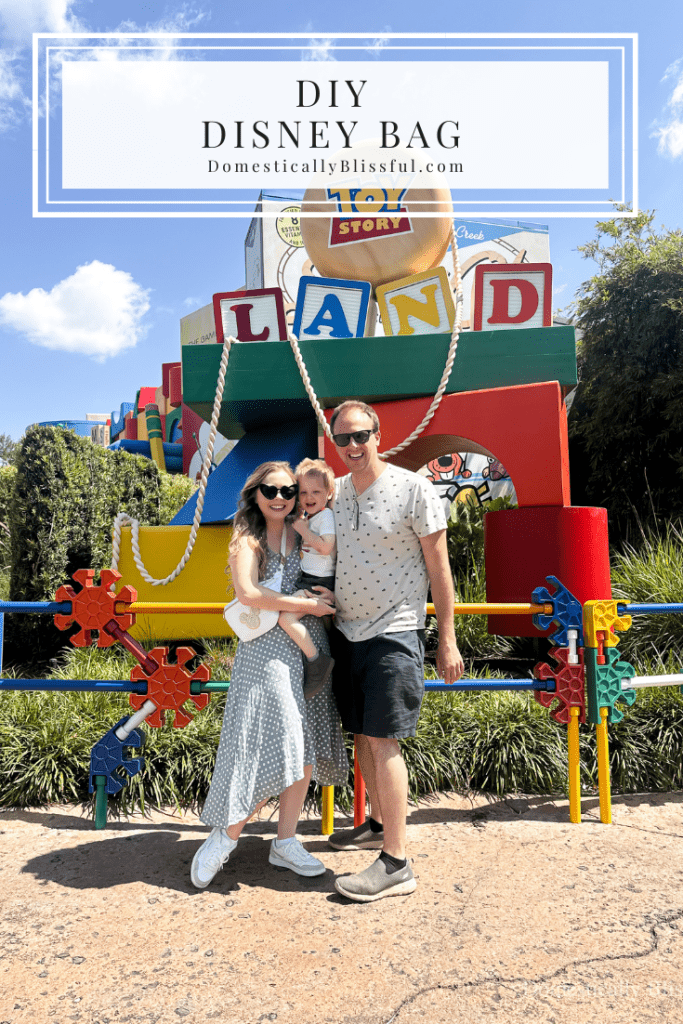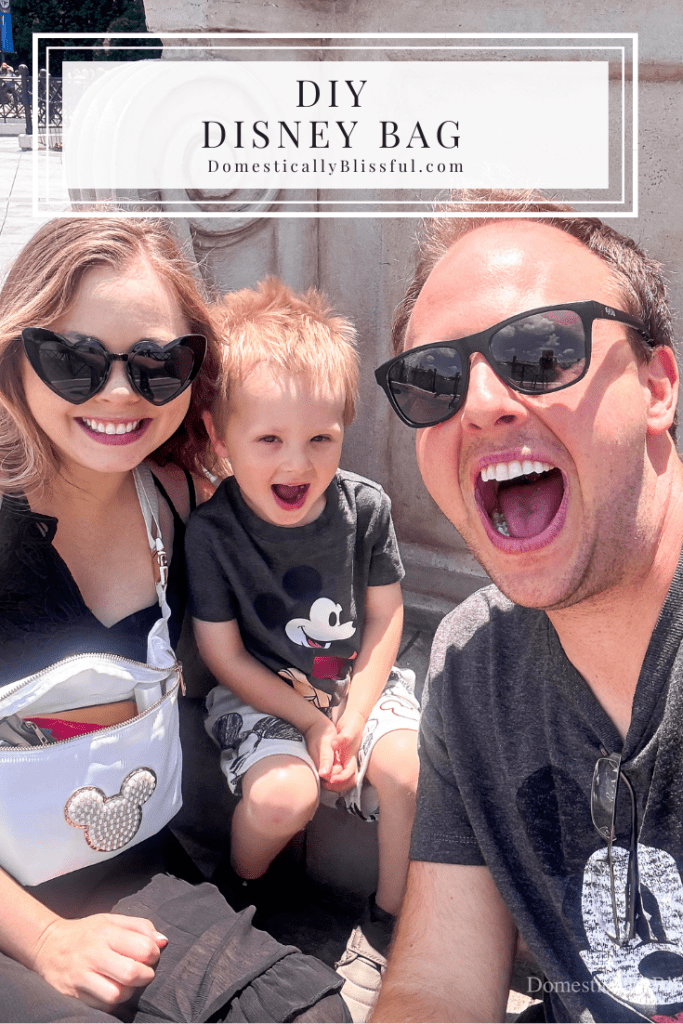
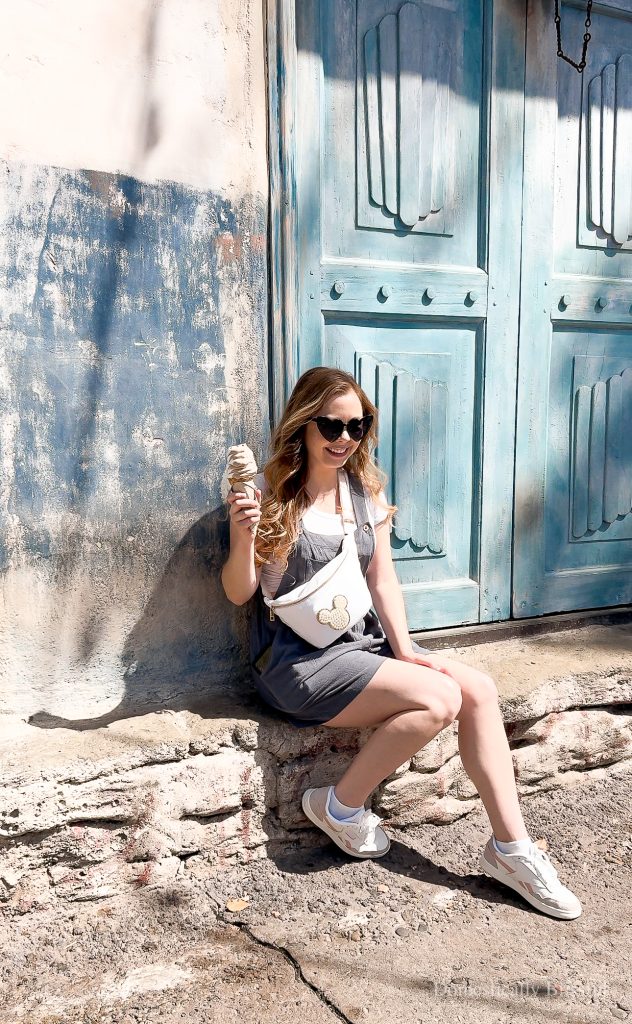
A DIY Disney Bag with a pearl Mickey Mouse patch to take on your next Disney World Vacation.
Click to Shop:
Romper || Heart Sunglasses || White Sneakers || Green Polka Dot Dress || Black Dress || Pearl Tulle Bow || Toddler Mickey Mouse Shirt || Men’s Mickey Mouse Shirt || Mini Adjustable Tripod || Phone Camera Remote
I have been wanting to make this DIY Disney Bag for almost a year!
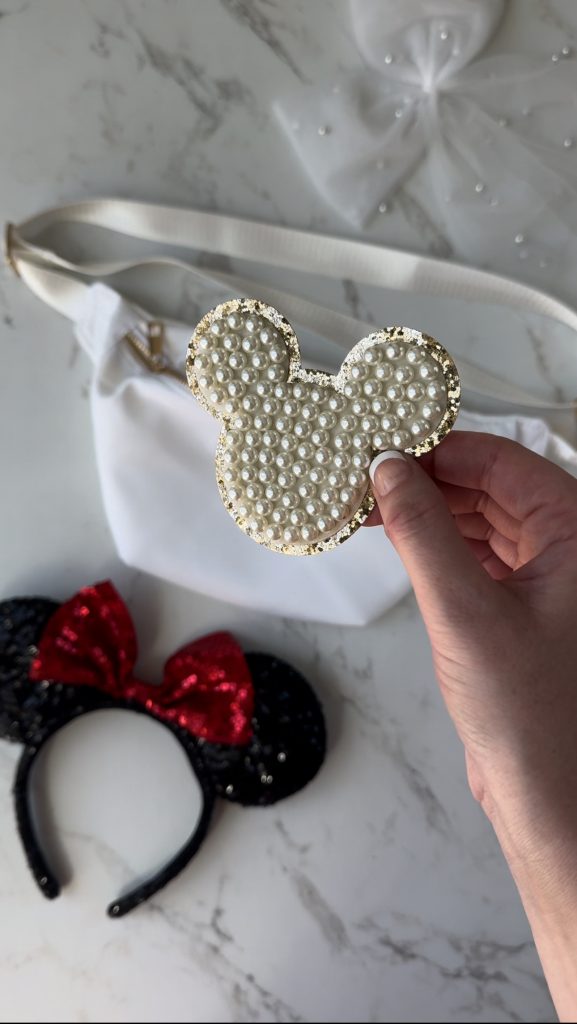
After looking at tons of different sizes and colors of fanny packs and Disney stickers I decided to go with classic white (so it would match more outfits), and a pearl Mickey Mouse sticker.
I then read a bunch of reviews and decided that I wanted to reinforce the sticker with glue to hopefully ensure that it would stay in place during our 3 day Disney trip.
I’m not a sewer and I don’t work with fabric a whole lot, so I went down a rabbit hole (not the same one Alice went down 😉) to find the best glue for this type of project and this bag’s specific type of fabric.
After 3 days of Disney, it held up surprisingly well (I only ran into a couple of hiccups which I address in the tutorial notes).
We are already planning our next Walt Disney World trip and I can’t wait to use this bag again very soon!
Click to Shop:

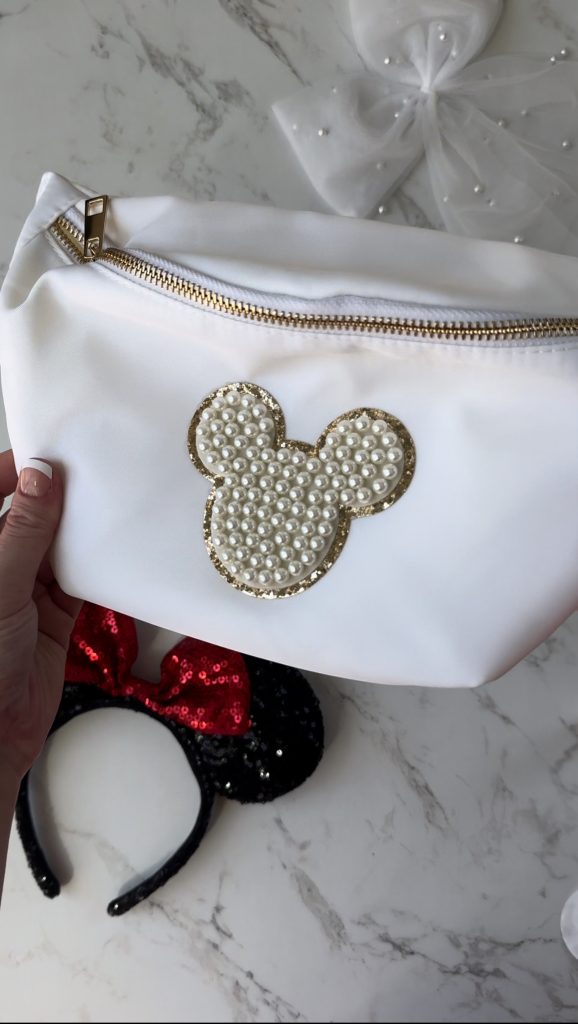
Materials (click to shop):
Mickey Pearl Sticker (regular, not small)
Instructions:
1. First, place the fanny pack on a flat surface.
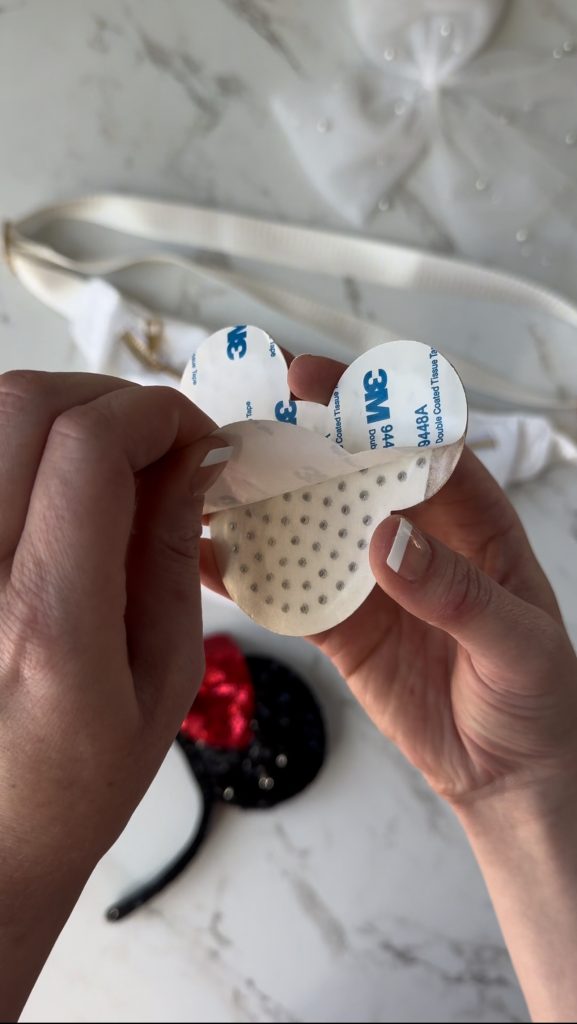
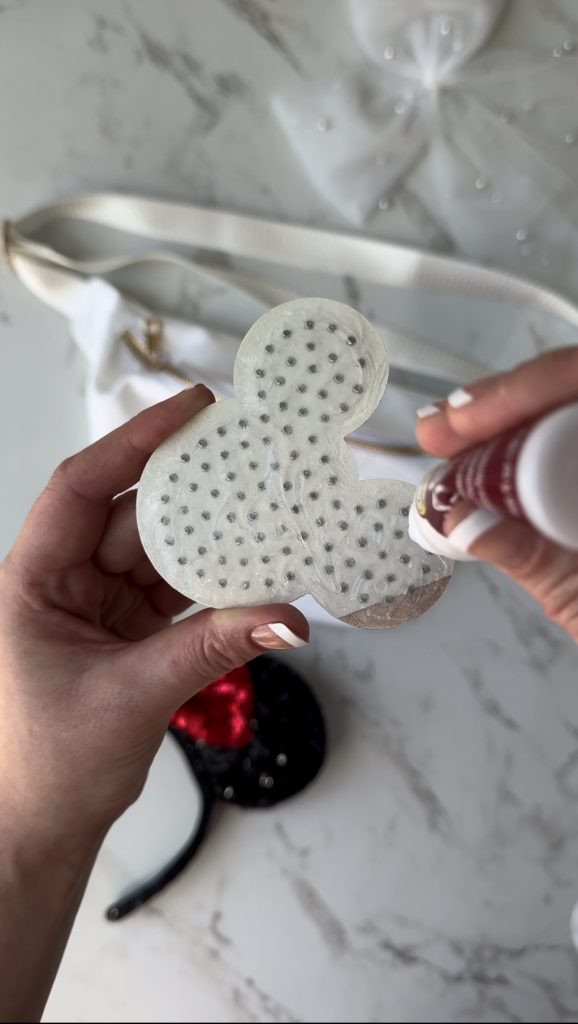
2. Remove the backing off of the Mickey Pearl Sticker then add the fabric glue, according to the packaging instructions, to the sticky part of the sticker. I covered the whole sticky area with the fabric glue.
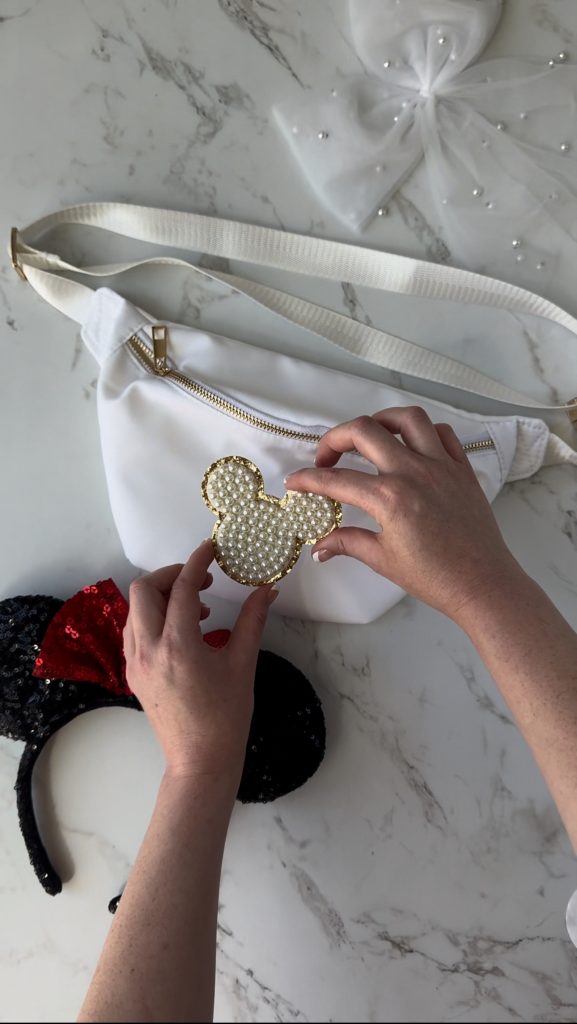
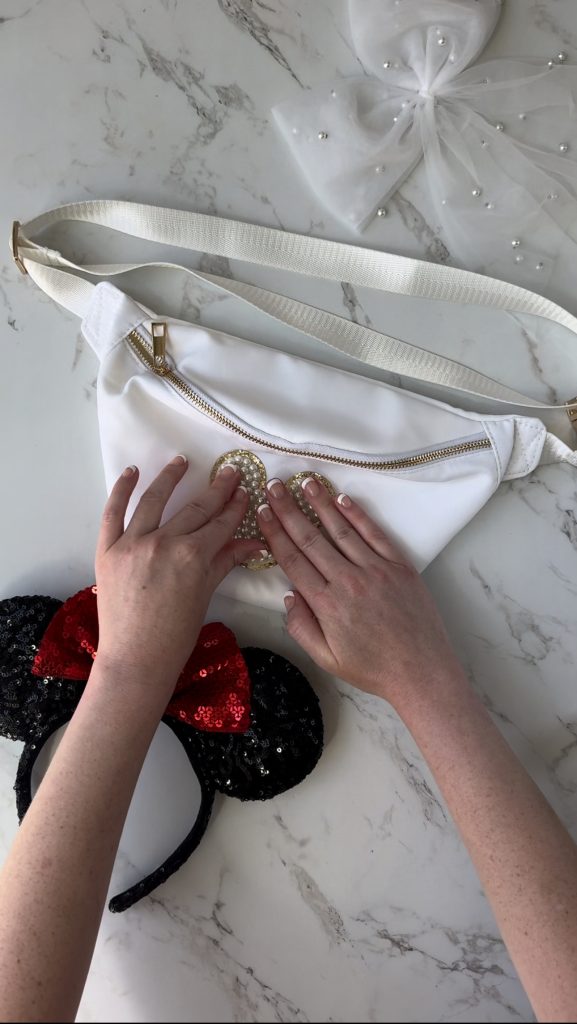
3. Flip it over and press it down onto the front of the fanny pack, in the upper center of the bag.***
4. Press down on the sticker for 15-30 seconds, then let it thoroughly dry according to the packaging instructions.
5. Enjoy your new DIY Disney Bag on your next Disney vacation!
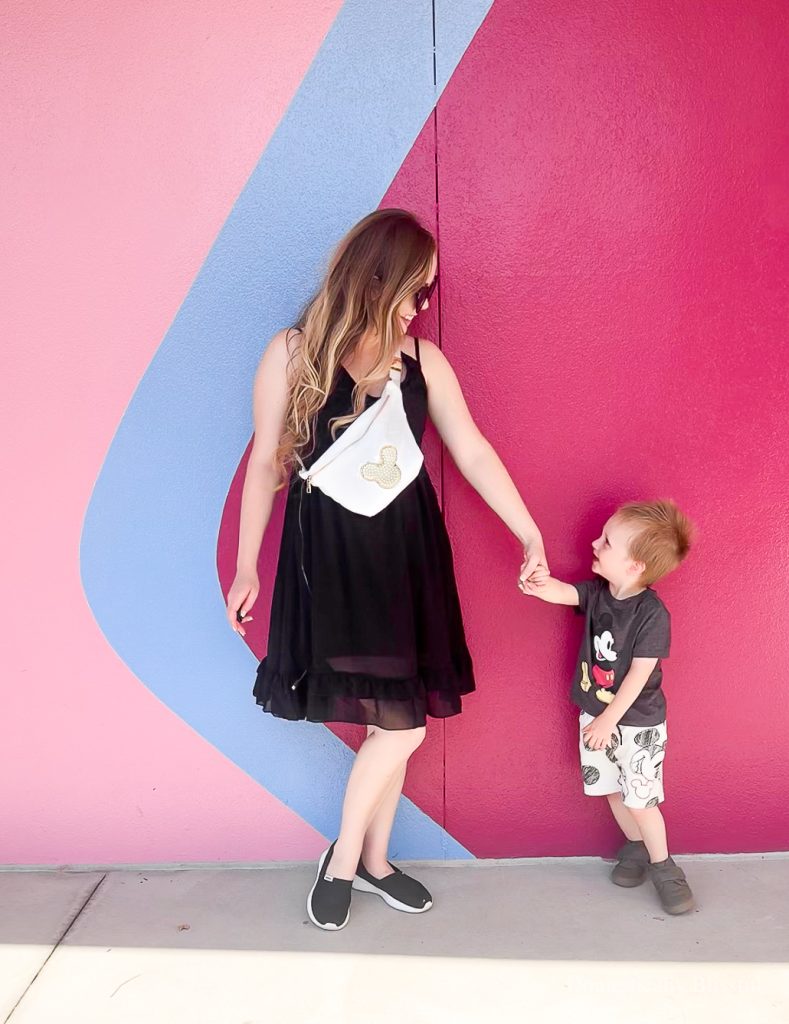
***Note: I placed it in the center of the bag, but after filling it and wearing it I realized that it curves a little at the bottom. This caused the sticker to peel off the bag about 1/4 an inch at the bottom where it curves, not much and not very noticeable, but worth noting. It would have been better to have placed it a little higher than right in the center.
***Note 2: At the last second I grabbed a tiny nail glue (from a set of press-on nails, click here to see it) and stuck it in my DIY Disney Bag just in case. So when I saw the sticker pull away from the bag a bit at the bottom, I just added a little glue under it and pressed it down to hold it in place better. I only did this on the first day of three days, at the base and I think a bit at the top (It wasn’t pulling away like it did at the bottom, I was just being over-cautious since we had 2 more days). I applied it maybe mid-morning on the first day and then didn’t add any more on day 2 or 3. So overall it held up really well with such heavy use over 3 days. I think if I had just used the sticker on the back it wouldn’t have held up, but that fabric glue worked so well, I just should have placed it higher on the bag.
Click to Shop:
If you are looking for more home decor inspiration you can find many more home posts, inspiration, and tutorials by clicking here.
If you enjoyed this post, be sure to subscribe to my newsletter below so that you don’t miss out on another blissful post!
Want to connect on a more personal level!?
You can find me & Domestically Blissful on
Instagram, TikTok, Pinterest, Facebook, Twitter, & Bloglovin!
With love, Giusti
Therefore confess your sins to each other and pray for each other so that you may be healed. The prayer of a righteous person is powerful and effective.
James 5:16 NIV